Social Share is a great way to reach more people and let them know that you have published a new blog post on your website. It does not happen automatically if you are using WordPress. But there are ways to make it automated so that when you publish your next blog post, it will be automatically shared on your favourite social platforms, such as Facebook, Twitter, LinkedIn or Pinterest.

Why Social Share Is Important for Blogs
Blogging is probably the easiest method for reaching out to your followers. Students, professors and experts all consider blogging as an effective method for reaching out to new followers and sharing their knowledge. There is nothing wrong with this practice. But you will definitely feel some pressure if you want to acquire new readers via your SEO Rank.
Users usually search for what they are looking for by typing in search strings into popular Search engines, i.e., Google. And there is a common practice among all that, users will click the first search result. And if your luck is good, users can even open every link on the first page of the search results. But chances are you will not be this lucky all the time.
This is why social sharing is important. It helps you leverage Social Media to drive traffic to your WordPress Website. Via social share, you can make repeated use of specific keywords without Google penalising you for keyword stuffing. Moreover, if you regularly post on your social media accounts, it means your readers will see you are active and frequently have new things to offer.

Automate Social Share for Your WordPress Blog
Using the ScheduPress advanced content planning tool of WordPress, which was formerly known as WP Schedule Post, can help you to auto-social-share your WordPress blogs from the editor. Digital marketers, as well as authors, can benefit from SchedulePress and its handy features. Check out this latest rebranding announcement blog of SchedulePress and get to know all the exclusive features at a glance.
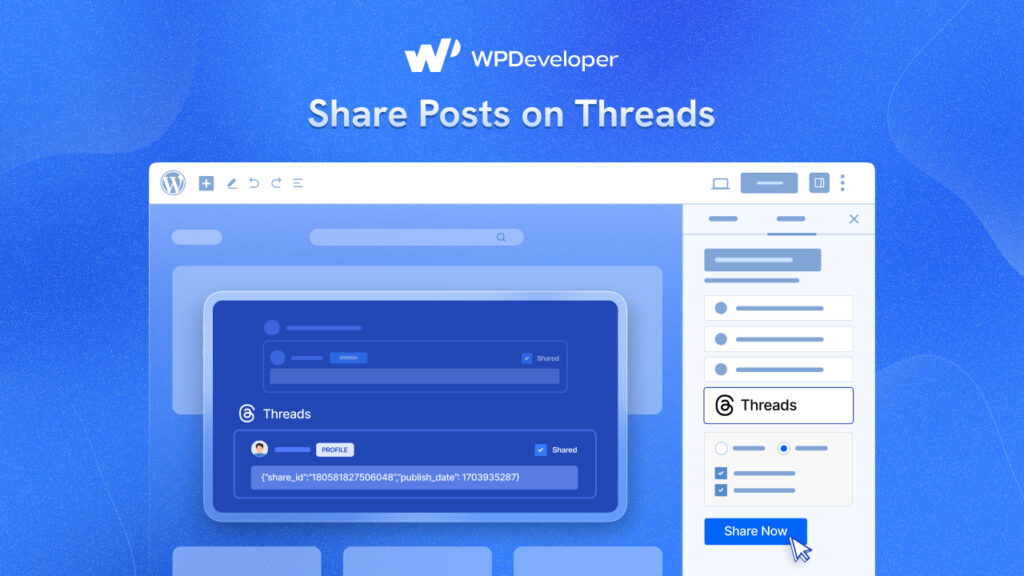
This plugin comes with Social Share Integrations. As a result, you no longer have to rely on additional WordPress Plugins to automatically share your scheduled content on multiple social profiles & groups of your Facebook, Twitter, or others.
Step 1: Install SchedulePress And Set Your Basics
Go to Plugins → Add New in WordPress, search for SchedulePress, then install and activate it. After activation, open the SchedulePress settings and run through the initial configuration so your calendar view and scheduling preferences are ready.
This matters because the tool should match your workflow, not force you into a new one. A clean setup also makes editorial workflow management smoother if multiple writers or editors are involved.
Step 2: Connect Your Social Profiles Once

Next, connect your social accounts from SchedulePress → Settings → Social Profiles. Authorise the platforms you actually use, then save the connections.
This one step changes everything. Once profiles are connected, you can schedule social posts from inside WordPress and stop logging into separate dashboards every time you publish. It is the foundation for reliable content scheduling automation.
Step 3: Plan And Create Content Around Your Blog Posts
With SchedulePress installed, your content planning becomes more intentional. Start with your upcoming blog posts – the core of your WordPress content strategy – and build your social ideas around them.
Ask yourself:
- What key takeaway can become a single post?
- Which section could be a multi-slide carousel?
- Is there a stat or quote that could work well on X or LinkedIn?
Document these ideas in your calendar or planning sheet. This is classic content repurposing: one article fueling multiple social posts. It keeps your feed active and lets your best content live longer.
Step 4: Add Platform-Specific Content in the WordPress Editor
Open a post in the WordPress editor and scroll down to the SchedulePress sharing box. This is where, with custom social templates, you prepare platform-specific content so every network gets its own tailored message.

You might write a punchy one-liner for X, a more thoughtful paragraph for LinkedIn and a conversational caption for Facebook. All tied to the same blog post, all managed from one screen.
Step 5: Schedule Posts And Visualize Everything in the Calendar
Once your content and captions are ready, you can schedule your posts as usual in WordPress — choosing specific dates and times that line up with your content calendar planning. The real magic appears in the SchedulePress Calendar. This visual calendar shows:
- All upcoming and published posts
- Which days are content-heavy or content-light
- Where you might need more posts to support a campaign

You can drag and drop posts to new dates if your plans change. Launch moved? No problem. Slide the post to match the new timeline and your multi-platform publishing schedule adapts with it.
Recommended Reading: How to Automatically Share Your Scheduled WordPress Posts on Facebook
Let us have a look at how Facebook Posts look using SchedulePress.

SchedulePress PRO allows you to automatically share your scheduled WordPress posts on your Twitter account. By connecting Twitter with SchedulePress, you can automatically tweet your blog posts at the scheduled time.
Recommended Reading: How to Automatically Tweet WordPress Posts on Twitter?

Let us have a look at how Tweets look using SchedulePress.
And last but not least, SchedulePress PRO also allows you to automatically share your scheduled WordPress posts on your LinkedIn account. But before you do that, you need to connect your LinkedIn account to SchedulePress.
Recommended Reading: How to Automatically Share WordPress Posts on LinkedIn?

Let us have a look at how LinkedIn shares look using SchedulePress.
Configuring Social Share Templates
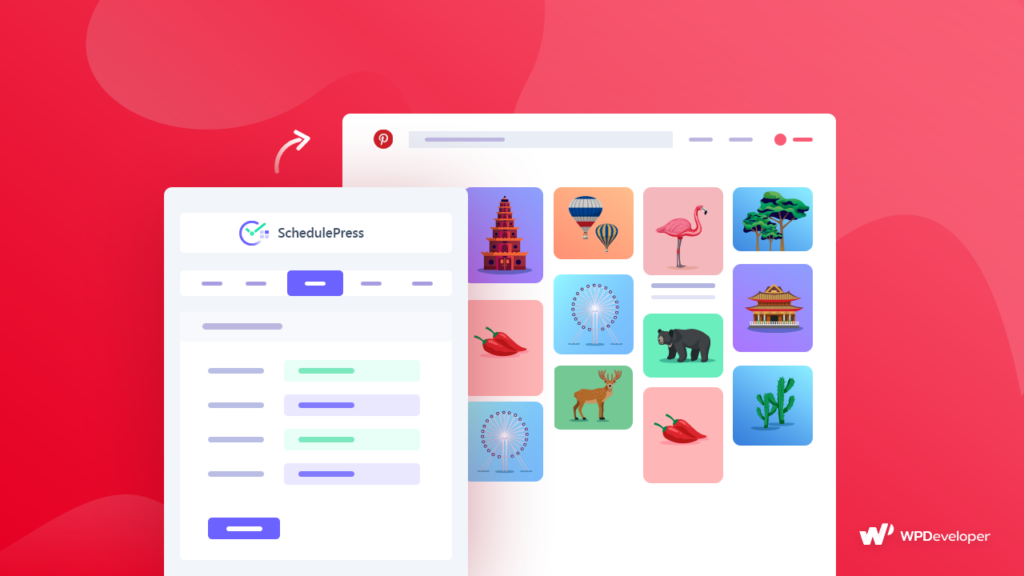
Once you connect your social profiles, you should customise your social template. This option lets you choose how to display your content when you automatically share WordPress posts on social profiles. Navigate to SchedulePress→ Settings and click on the ‘Social Templates’ tab. Scroll down to the preferred social platform, Pinterest, for example, and change the options according to your preferences. Click on the ‘Save Settings’ button to update your changes.

Wrapping Up!
Every editor would always search for the ideal tool to make effective content planning. This is more strongly felt when you have a multi-author WordPress Blogging site. Managing all your blogs in one place has always been a dream for both content marketers and authors.
Bonus: SchedulePress for Content Scheduling?

SchedulePress is designed to keep content operations inside WordPress. Instead of forcing you into an external dashboard, it helps you plan and execute where you already write. That single decision reduces friction and makes the publishing workflow easier to maintain.
As a WordPress schedule plugin, SchedulePress brings planning, scheduling and promotion into one place. You get a calendar for planning and scheduling tools that support automatic scheduling and structured sharing. It is built to help you stay consistent without turning scheduling into another full-time job.
Here is how the workflow looks in practice:
- Plan topics and drafts in your calendar, then place them into the month.
- Move posts through your editorial workflow calendar from Draft to Scheduled with a clear status.
- Apply scheduling rules so publishing times stay consistent.
- Create social templates once, then reuse them across posts.
- Rely on the missed schedule handler so your scheduled posts are less likely to get stuck.
When you combine those steps, your calendar becomes a system, not a document you forget to update.
Quick Setup: Get Started in 10–15 Minutes
Getting value from a WordPress schedule plugin depends on a clean setup. You do not need to configure everything on day one, but you should set the basics so your workflow is consistent from the start.
Follow this simple setup order:
- Install and activate SchedulePress from your WordPress dashboard.
- Open the calendar and review your posts and add upcoming ideas.
- Configure scheduling based on your audience and workload.
- Create two to four social templates for your primary platforms.
- Enable the missed schedule handler so scheduling stays reliable.
After that, start small. Schedule your next week of posts, then expand as you gain confidence.