If you can share WordPress blog posts on your Facebook page automatically, it will help you create a buzz on your popular social channels. In the meantime, you will also be able to reduce your workload instantly. Because after publishing content on your WordPress site, you have to put in extra effort to get the word out. So, automating this process will quickly give you the desired exposure and boost your website traffic easily.
However, to do that smoothly, you need to get a complete solution to automatically share WordPress blog posts on Facebook without any hassle.

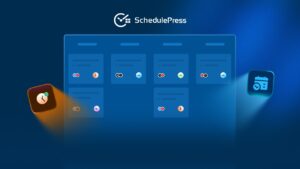
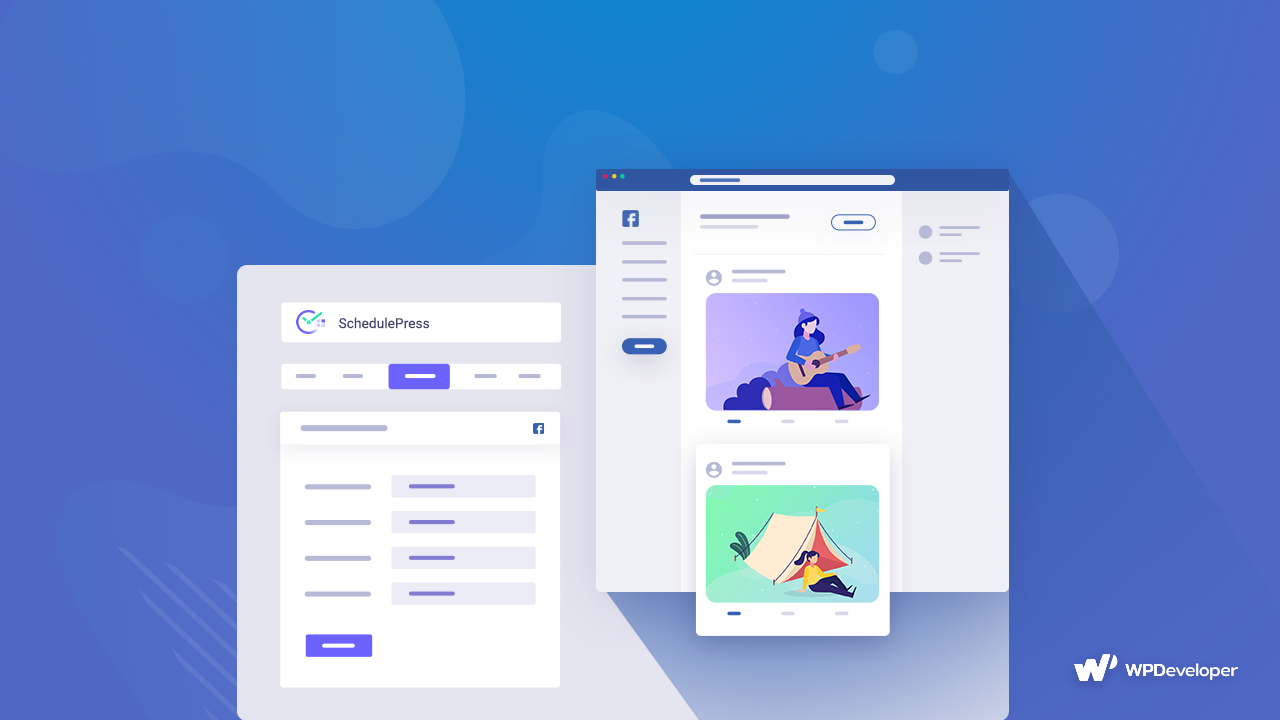
That is why we are introducing the best content scheduling and auto multi-social sharing WordPress plugin, SchedulePress, which is revamped and rebranded in the latest version, previously known as WP Scheduled Posts.
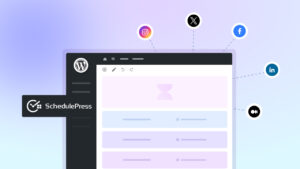
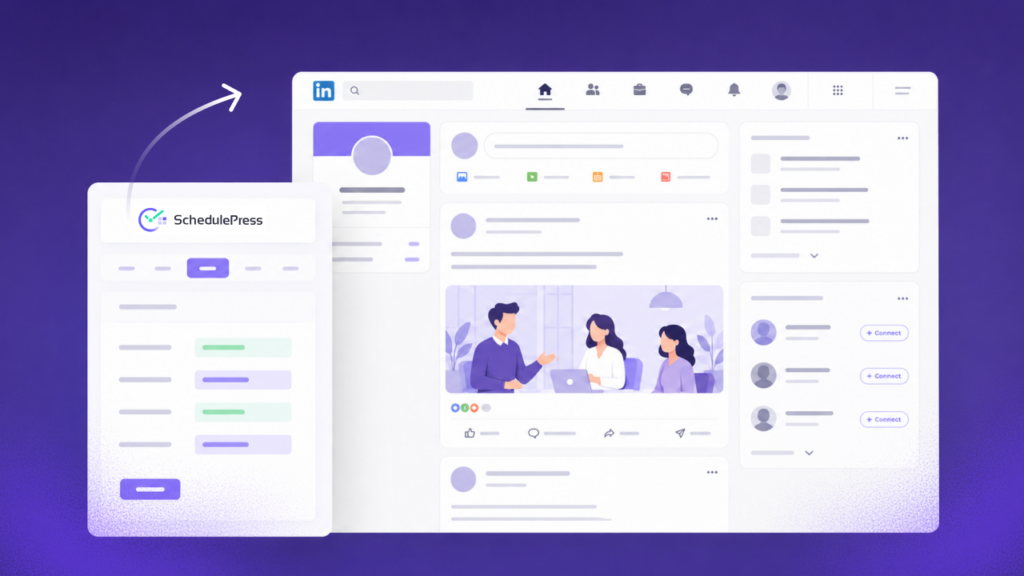
You can do automatic scheduling of your blog content and share WordPress blog posts on multiple pages or groups of your Facebook, Twitter, Pinterest and LinkedIn. So, let us get started to explore this advanced multi-social sharing plugin, SchedulePress, in detail below!
Benefits of Sharing Blog Posts on Facebook
As a content marketer, you must know the right tactics and pick the right social media sites for your content promotion. That will help you boost your website traffic and rank you higher on the search engines like Google, Bing or others. So in a very effortless way, you can increase your engagement rates and conversion without doing anything extra. You will be able to reach out to your target audiences in every corner of the globe with ease.
Facebook is one of those social networking sites that can easily give you that social exposure. It currently has 3.07 billion monthly active users worldwide and is considered the largest social networking site worldwide. So if you can push your blog content on Facebook, it will help you to reach your potential clients effortlessly.
✔️It is always easier to get organic website traffic from Facebook for your enriching content. And it is absolutely free and gets you to the right customers on an instance.
✔️Once you have published your blog on Facebook, it will be quicker for your content to get indexed on search engines like Google and rank at the top within a very short period of time.
✔️Also, it helps you to make your blog site credible and trustworthy for your customers, as you have an active presence on Facebook. People are always looking for a strong social media presence before creating engagement with your content or your website blogs.
✔️Besides, your active readers can easily share your blogs on different groups or channels. Also, they can easily recommend your blog site to others. This will work as a chain; if one gets benefited by reading your blog, they will share it with others, and you can instantly make huge website traffic.
So, you can gather more social traffic that will help you boost your Facebook post traffic and the website simultaneously. That is why people make the first choice as a startup. Even for established content marketers or blog site owners, they prefer Facebook first to promote their latest content. Most people of different age groups are attached to this social networking site, where you can easily reach out to your target audiences and accelerate your site engagement and conversion in a continuous process.
How Can You Automatically Share WordPress Blog Posts on Facebook Using SchedulePress?
As you already know, SchedulePress will automatically share WordPress blog posts on your Facebook groups or pages whenever you publish them on your website. But how it will function after installing and activating this advanced plugin on the site, you have to know. So to do that, accurately follow these simple step-by-step guidelines below:
You have to install and activate SchedulePress. After installing it, you are all set to go.
Step 1: Connect Facebook with SchedulePress
Before you begin, make sure that you have already created a Facebook Page on your Account. Go to your WordPress Dashboard and navigate to ‘wp-admin’ → ‘SchedulePress’ → ‘Settings.’ Then, simply open up the ‘Social Profile’ tab and switch to the ‘Facebook’ option. Make sure that the ‘Facebook’ option is enabled.

After hitting the‘Add New Profile’ button, it will ask you to add your Facebook ‘App ID’ and ‘App Secret’ in the pop-up window. If you already have a Facebook developer account, you just have to copy and paste it into this required place. If not, you have to first create your app by following the process below.

Step 2: Use Your Own Facebook App
To use this method, you need to make sure that you have created your own App. If you do not have it, you can simply get started by logging into your Meta for Developers Account.
Create an App
From the top menu, you will find ‘My Apps’, click on it & head over to the ‘Create App’ option from the right corner. Now, hit the option.

Here, you need to configure app details, such as App name and App contact email. Once done, hit the ‘Next’ button.

Now, you need to select the use cases of your app. You can filter and choose one from the list of use cases. Here, we have chosen ‘Other’ available under All options.

On the next page, select an app type (Business) and confirm the app details. Once done, hit the ‘Create App’ button to create your app.

You will then be redirected to the App Dashboard. This would look something like this:

Set up Facebook Login for Business
From the dashboard, click on ‘Set up’ under ‘Facebook Login for Business’ & you will be redirected to the page below.

Insert Valid OAuth Redirect URIs
Afterward, you have to go to the Facebook Login ‘Settings’ option to add the ‘Valid OAuth Redirect URIs’. You will get it from the ‘Redirect URI’ section that was in the ‘Add New Profile’ window of SchedulePress.

Next, you need to navigate to Tools → Graph API Explorer to set the ‘Permission and Features’ option.

Search the features below & click on the App Review Request to complete the integration process.
pages_show_list
business_management
pages_read_engagement
pages_manage_metadata
pages_read_user_content
pages_manage_ads
pages_manage_posts
Pages_manage_engagement
Generate Access Token
After you have done so, click on the ‘Generate Access Key’ button to retrieve your Access token. You will be asked to continue as a user. Allow permissions to the page you have created. Afterward, go ahead and allow the permissions for the App you have created and hit the ‘Save’ button.

Retrieve Facebook API Keys
You will find the App ID & App Secret Keys from your Dashboard → App Settings → Basic. Simply copy the App ID & App Secret Key from here. Make sure to add a site URL in the ‘App Domains’ field and then click on the ‘Save Changes’ button.

Make sure you paste your retrieved ID and secret keys in the right places like this.

Step 3: Connect Your Facebook Page with SchedulePress

Afterward, SchedulePress will be successfully connected to your Facebook page. By simply following the previous steps, you can add a new profile and connect multiple Facebook pages with SchedulePress as well.
Step 4: Schedule Blog Post & Automatically Share It on Facebook
If you schedule your WordPress post, it will automatically be shared on your Facebook account. Besides, if you want, you can even instantly share your live post on Facebook as well. To do that, go to your post and navigate to ‘Social Share Settings’ and choose the ‘Facebook’ social share platform either from the default templates or the custom templates.
Simply hit the ‘Share Now’ button, and your post will instantly be shared on your Facebook page or group. If you want, you can even upload a custom ‘Social Share Banner’ for your Facebook post as well.

Final Outcome
After all of these previous steps are finished, your scheduled posts on WordPress will be automatically shared on your Facebook account when they go live. This is how it will appear on your Facebook account:

Recommended Reading: How to Automatically Tweet on Twitter When Publishing a New Blog Post in WordPress.
Wrapping Up!
Relying on your memory to manually share content across Facebook is a surefire way to burn out and let great content go to waste. By integrating your social media distribution directly into your WordPress workflow, you guarantee that every piece of content gets the exposure it deserves – without the tedious copy-paste routine.
SchedulePress Pro takes the heavy lifting out of cross-promotion. It turns what used to be a stressful afterthought into an automated, reliable system that continuously drives organic website traffic. If you get stuck or need any further help, feel free to contact our support team anytime you want.