You publish a blog post, then the busy work begins: open tabs, copy links, rewrite captions, paste images, repeat. A week later, the post is buried and the momentum is gone. If you are wondering how to schedule social media posts without living inside five different dashboards, you are in the right place. This guide will help you build a simple workflow, keep your content moving and let WordPress do the heavy lifting.
If you are running your site on WordPress, the smartest move is using a WordPress social media scheduler so content scheduling automation becomes part of your publishing routine, not an extra chore.
Why Scheduling Matters More Than “Posting Often”
Learning how to schedule social media posts is not just about convenience. It is about consistency, timing and distribution, which is where most content plans fail. Even great content struggles when it is published once and never resurfaces.
Here is what a reliable schedule gives you:
- More reach without publishing more content
- Better engagement because you post when your audience is actually online
- A repeatable system you can scale for campaigns, launches and seasonal promos
It also protects your focus. When distribution is handled, you can spend more time improving quality and less time doing repetitive posting work.
Build a Social Media Content Calendar First

Before you touch any tool, zoom out. Your social media content calendar is the map that tells you what to share, when to share it and why it matters. Without that map, you will keep asking the same exhausting question: “What do I post today?”
Start simple. Pick a realistic posting rhythm and match it to your resources. If you can publish two blog posts a week, you can still post daily by planning micro-content around those posts and using content repurposing to stretch each topic further.
Step 1: Choose 3–5 Content Pillars You Can Maintain
Your content pillars are the repeatable themes you want to be known for. Think of them as buckets you can pull ideas from without overthinking. A practical set of pillars looks like this:
- Educational tips and tutorials
- Blog post highlights and quick takeaways
- Behind the scenes and team moments
- Proof and credibility (reviews, wins, case studies)
- Product updates and feature use cases
Once you define pillars, your content planning for WordPress becomes much easier because every new post fits into a system and every week has a clear direction.
Step 2: Match Platforms to Goals, Not Hype
Different platforms reward different behaviors, so match each channel to the outcome you want. Use this quick mapping as a starting point:
- Facebook: conversations, community posts and link previews
- X (Twitter): fast updates, threads and timely opinions
- LinkedIn: thought leadership, professional insights and case studies
- Pinterest: evergreen discovery and visual search
- Instagram: visual storytelling, reels and carousels
Start with the platforms you can serve well, then expand later. This keeps your social media content calendar realistic and sustainable.
How to Schedule Social Media Posts in WordPress With SchedulePress

Now we bring everything into one place. If you want to learn how to schedule social media posts directly from your WordPress dashboard, the SchedulePress plugin is built for that exact workflow. It combines a visual calendar, post scheduling and social sharing so you can plan, publish and distribute without switching tools all day.
Let us walk through the setup and the daily routine, using SchedulePress as your WordPress social media scheduler.
Step 1: Install SchedulePress and Set Your Basics
Go to Plugins → Add New in WordPress, search for SchedulePress, then install and activate it. After activation, open the SchedulePress settings and run through the initial configuration so your calendar view and scheduling preferences are ready.
This matters because the tool should match your workflow, not force you into a new one. A clean setup also makes editorial workflow management smoother if multiple writers or editors are involved.
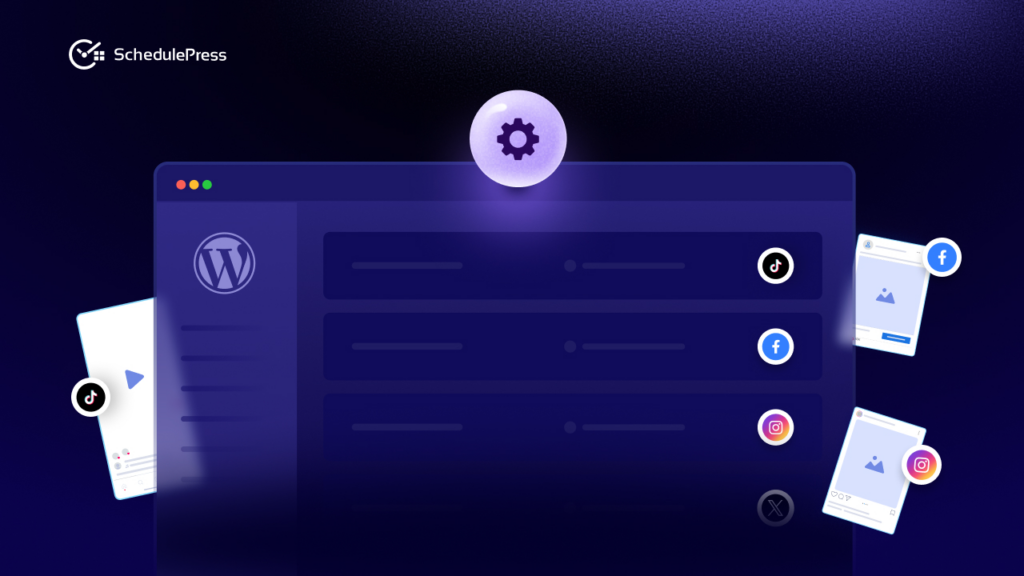
Step 2: Connect Your Social Profiles Once

Next, connect your social accounts from SchedulePress → Settings → Social Profiles. Authorize the platforms you actually use, then save the connections.
This one step changes everything. Once profiles are connected, you can schedule social posts from inside WordPress and stop logging into separate dashboards every time you publish. It is the foundation for reliable content scheduling automation.
Step 3: Plan and Create Content Around Your Blog Posts
With SchedulePress installed, your content planning becomes more intentional. Start with your upcoming blog posts — the core of your WordPress content strategy — and build your social ideas around them.
Ask yourself:
- What key takeaway can become a single post?
- Which section could be a multi-slide carousel?
- Is there a stat or quote that could work well on X or LinkedIn?
Document these ideas in your calendar or planning sheet. This is classic content repurposing: one article fueling multiple social posts. It keeps your feed active and lets your best content live longer.
Step 4: Add Platform-Specific Content in the WordPress Editor
Open a post in the WordPress editor and scroll down to the SchedulePress sharing box. This is where, with custom social templates, you prepare platform-specific content so every network gets its own tailored message.

You might write a punchy one-liner for X, a more thoughtful paragraph for LinkedIn and a conversational caption for Facebook. All tied to the same blog post, all managed from one screen.
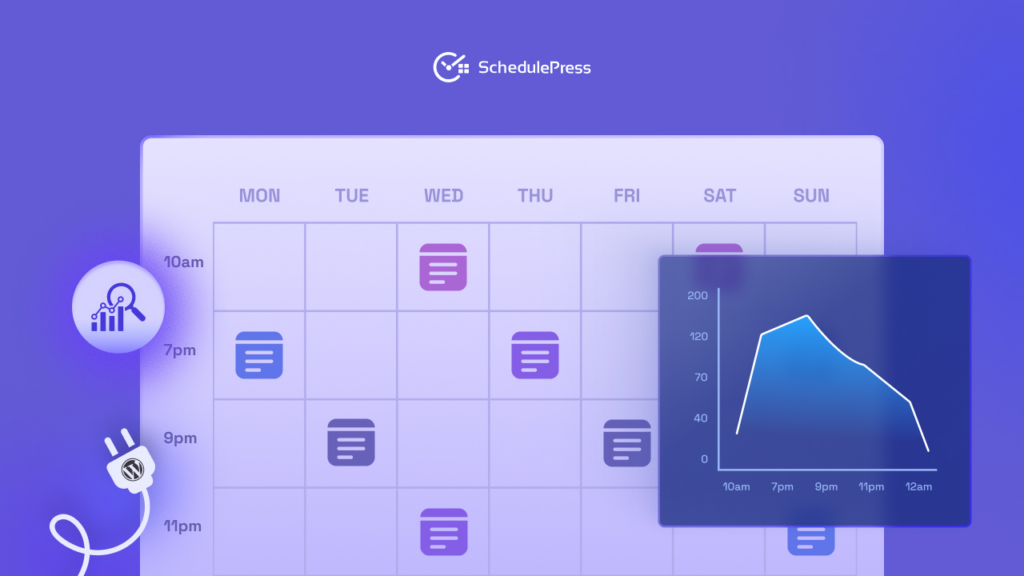
Step 5: Schedule Posts and Visualize Everything in the Calendar
Once your content and captions are ready, you can schedule your posts as usual in WordPress — choosing specific dates and times that line up with your content calendar planning. The real magic appears in the SchedulePress Calendar. This visual calendar shows:
- All upcoming and published posts
- Which days are content-heavy or content-light
- Where you might need more posts to support a campaign

You can drag and drop posts to new dates if your plans change. Launch moved? No problem. Slide the post to match the new timeline and your multi-platform publishing schedule adapts with it.
Turn One Blog Post Into Many Social Posts
If you only share a blog post once, you are leaving traffic on the table. Content repurposing is the simplest way to grow without doubling your workload. When you make repurposing a weekly habit, you stop relying on inspiration and start relying on systems.
Here are practical repurposing angles you can schedule in minutes:
- Turn the intro into a LinkedIn text post
- Pull 3 key points and make an X thread
- Convert a list section into an Instagram carousel outline
- Create a Pinterest pin title based on the main takeaway
- Share a behind the scenes photo of your writing process on Facebook
This is why your content planning for WordPress should always include distribution ideas, not just writing tasks. It also makes repurposing easier because you are collecting angles while you write.
Use Content Scheduling Automation Without Sounding Robotic
Automation can hurt your brand when it is lazy. Automation helps your brand when it is intentional. The difference is simple: you tailor messages per platform and you schedule them based on audience behavior.
When you use SchedulePress as a WordPress social media scheduler, keep these rules in mind:
- Write one core message, then adapt it for each platform
- Keep the first line punchy so it wins the scroll
- Use short paragraphs for Facebook and LinkedIn, not walls of text
- Use strong visuals for Instagram and Pinterest because design is the language there
- Add a clear call to action, but keep it natural
If you follow those rules, how to schedule social media posts becomes a growth lever, not a spam machine. Over time, content scheduling automation gives you consistency without removing your voice.
Bring Back Your Evergreen Content With a Re-Share System
Your older posts are not “old.” Many of them are evergreen content that can drive traffic for months or years, especially if the topic solves a real problem. The challenge is that manually digging through archives is tedious.

SchedulePress includes a Social Scheduler feature designed for this. You can define rules for what to reshare, set intervals and keep your feeds active without repeating the same link every day. This is content scheduling automation that works quietly in the background while you focus on new content.
A simple evergreen loop looks like this:
- Pick a category or tag of evergreen content
- Set a minimum gap between shares
- Limit how many posts can be shared per day
This is one of the most practical answers to how to schedule social media posts when your content library is already large. It also pairs naturally with content repurposing because you can refresh old ideas into new formats.
Final Thoughts: Build a System You Can Actually Maintain
If you want to learn how to schedule social media posts, do not start by chasing perfect tactics. Start by building a workflow you can repeat even on busy weeks. With a clear social media content calendar, a few strong templates and a steady evergreen content loop, your distribution becomes predictable. Add content scheduling automation and consistent content repurposing and you have a system that keeps working even when your week gets busy.
SchedulePress helps you keep everything inside WordPress, which removes friction and makes content scheduling automation feel natural. Once the system is running, you will spend less time posting and more time creating content worth sharing. That is where real growth starts.
If you have found this blog helpful, share your opinion with our Facebook community. You can subscribe to our blogs for valuable tutorials, guides, knowledge, tips, and the latest WordPress updates.