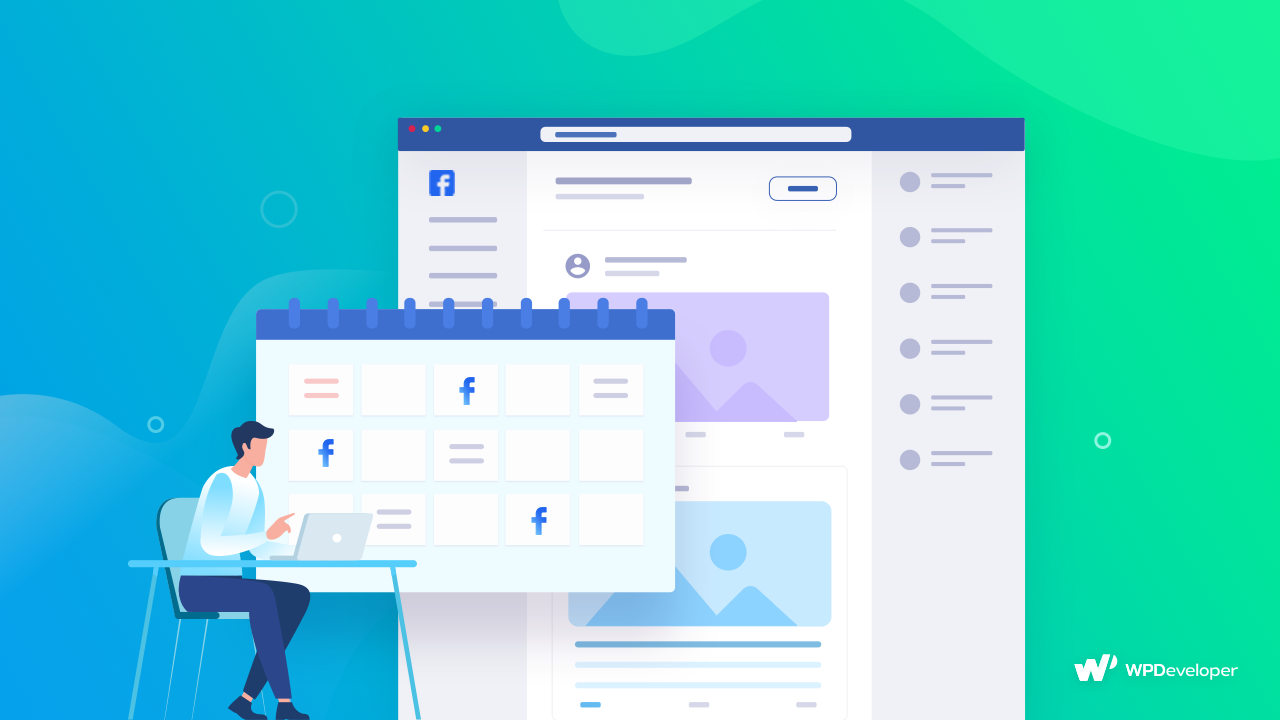
Would it not be great if you could auto-schedule blogs on Facebook from WordPress websites directly? Bloggers and social media marketers know how difficult it can be to share posts from websites on Facebook or other social media manually. Again, most people do not know that they can automate the scheduling process for free using the right tool.
So today, we will guide you on how you can easily auto-schedule your blogs on Facebook for free.

Why Should You Share Blogs on Social Media Platforms?
It is crucial to understand why your site’s blogs need to be shared across multiple social media platforms before we share the ‘How To’ with you. It is totally free of cost to open profiles for your blogs or organizations on social media. Here are the top benefits you will get for your blog on social media platforms.
1. Best Source to Get Organic Traffic
The availability of the internet and advanced gadgets has made it easier for people to stay active on social media platforms. Moreover, every day, on average, 141 minutes are spent on social media, according to Statista. So, when you start auto-scheduling your blogs on Facebook or other social media platforms, it will help you to get organic traffic and increase your post engagement. Furthermore, there is nothing to lose in sharing blogs on Facebook and other social media platforms.
2. Your Blogs Will Get Indexed Faster on Search Engines
Google and other search engines crawl the web, bookmark pages and rank websites based on the value and recognition of the information they find. In general, the greater the number of quality content bots find on your site, the higher it will rank. Auto-scheduling blogs on Facebook and other social networks is crawled and indexed much faster than simply adding a new page to your site, so you can take advantage of high search engine rankings much earlier.
3. Boost Your Blog’s Ranking on Google & Others
Recent statistics reveal that people who have more views and engagement on social media platforms like Facebook, X (Twitter), etc., are also very successful on Google visibility. Additionally, Google is undoubtedly the very best and most effective search engine for ranking high.

Along with your site viewers, Google’s algorithm also tracks the views you are getting from social media platforms. Thus, these metrics help your blog to build credibility and rank higher.
4. Help Build a Better Relationship with Customers
You need to nurture your social media following until you can get them to make a purchase. In spite of the simplicity of the premise, the results are astounding. It will also help you to get new leads. Hence, social media engagement combined with blogs is a powerful right hook that closes the deal.
Auto-Schedule Blogs on Facebook Is a Proven & Tested Practice
We are now ready to grab your attention to the benefits of auto-scheduling your blogs from your WordPress website using Facebook. These data will help you to get a clear visualization of the importance of Facebook in recent times.

When your Facebook profile has lots of followers and viewers, anything you post there will influence your audience to look at you. So, when you start sharing your blogs on Facebook, it will reach out to all your viewers and followers. Thus, it will increase your blog’s reading count. Moreover, by clicking on the blogs on Facebook, it will take you directly to your website. This helps to promote your brand, increase site visibility and increase your site engagement.
Step-By-Step Guide: How to Auto-Schedule Blogs on Facebook from WordPress
Time to check out the tutorial you all have been waiting for. Here we will guide you step by step to auto-schedule your blogs on Facebook from WordPress websites directly.
Step 1: Get Blog Schedule Management Plugin With Great Usability
One of the benefits of having a WordPress website is that you do not need to learn coding to implement any additional features. You will get WordPress plugins for almost all types of functionalities.
To create a system where you can auto-schedule your blogs on Facebook from WordPress, you will need a schedule management plugin. When it comes to usability, easy-to-use, user experience and user interface, SchedulePress – a WordPress plugin for blog schedule and social sharing management, is a good choice.
Here is the list of stunning features of SchedulePress, explaining why we use it to auto-schedule blogs on Facebook from the WordPress website.
✔️ You can directly auto-schedule blogs on the Facebook page and group from the same panel
✔️ Sharing only the link of your blog or caption or both is available in SchedulePress
✔️ SchedulePress will fetch your blog category and tags and display them on Facebook social share
✔️ In SchedulePress, you get the facility to give custom social shares or directly fetch excerpts.
✔️ You can also set a limit to social sharing individually. Moreover, create ready templates for social sharing, so no need to modify them every time you schedule blogs
SchedulePress offers more than auto-scheduling features for Facebook and other social media platforms, so let us check out other features of this WordPress schedule management plugin.
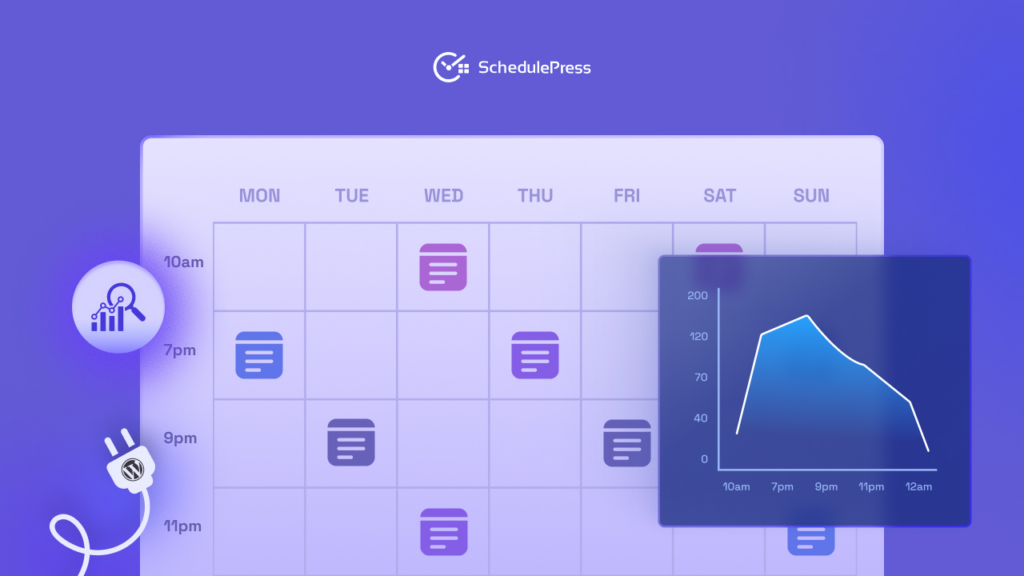
- You will get a built-in schedule calendar to manage your blog and page publishing smoothly.
- You can schedule your blogs and pages automatically and manually using SchedulePress.
- If any blog or page missed its scheduling, its Missed Schedule Handler feature will handle that and publish them.
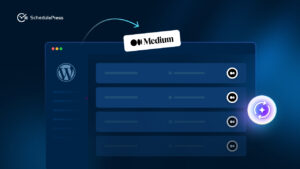
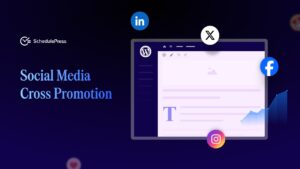
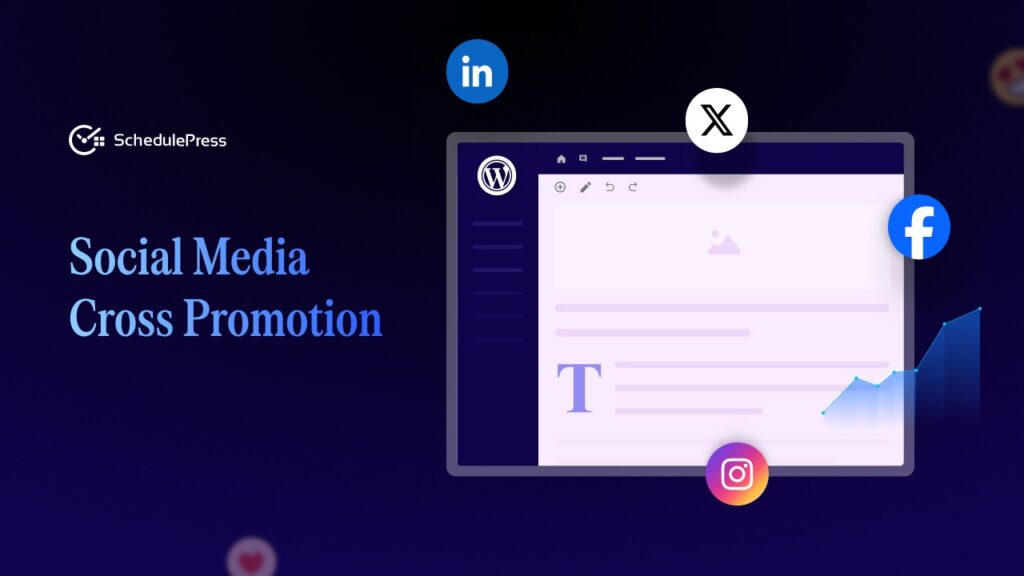
- Besides Facebook, you can auto-schedule your blogs and posts on Twitter, Pinterest, LinkedIn Threads, Google Business Profile and other platforms.
- You will get a pagination bar from where you can check out the scheduled posts and pages at a glance.
So, open your WordPress dashboard, then install and activate SchedulePress immediately.
Step 2: Connect Facebook with SchedulePress
Before you begin, make sure that you have already created a Facebook Page on your Account. Go to your WordPress Dashboard and navigate to ‘wp-admin’ → ‘SchedulePress’ → ‘Settings.’ Then, simply open up the ‘Social Profile’ tab and switch to the ‘Facebook’ option. Make sure that the ‘Facebook’ option is enabled.

After hitting the ‘Add New Profile’ button, it will ask you to add your Facebook ‘App ID’ and ‘App Secret’ in the pop-up window. If you already have a Facebook developer account, you just have to copy and paste it into this required place. Unless you have to first create your app by following the process below.

Step 3: Use Your Own Facebook App
To use this method, you need to make sure that you have created your own App. If you don’t have it, you can simply get started by logging into your Facebook Developer Account.
Create an App
From the top menu, you will find ‘My Apps’, click on it & head over to the ‘Create App’ option from the right corner. Now, hit the option.

Here, you need to configure app details, such as ‘App name’ and ‘App contact email’. Once done, hit the ‘Next’ button.

Now, you need to select the use cases of your app. You can filter and choose one from the list of use cases. Here, we have chosen ‘Manage Everything Under Your Page’ available under ‘All’ category from the left side filter menu.

On the next page, select ‘Which business portfolio do you want to connect to this app?’ and confirm the app details. Once done, hit the ‘Next’ button to create your app.

Then click ‘Next’ in the Publishing requirements tab. Then you will see the created App overview. If all fit your requirements, then tap ‘Go to dashboard’.

Set up Facebook Login for Business
From the dashboard, click on ‘Set up’ under ‘Facebook Login for Business’ & you’ll be redirected to the page below.
Insert Valid OAuth Redirect URIs
Afterward, you have to go to the Facebook Login ‘Settings’ option to add the ‘Valid OAuth Redirect URIs’. You will get it from the ‘Redirect URI’ section that was in the ‘Add New Profile’ window of SchedulePress.

Add Permissions & Features
Next, you need to navigate to My App Dashboard → Use Cases → Manage everything on your page. Search the features below & click on the Add App Review to complete the integration process.
pages_show_list
business_management
pages_read_engagement
pages_manage_metadata
pages_read_user_content
pages_manage_posts
pages_manage_engagement

Remember to check whether the above permissions are automatically added before adding them manually.
Retrieve Facebook API Keys
You will find the App ID & App Secret Keys from your Dashboard → App Settings → Basic. Simply copy the App ID & App Secret Key from here. Make sure to add a site URL in the ‘App Domains’ field and then click on the ‘Save Changes’ button.

Make sure you paste your retrieved ID and secret keys in the right places like this.

Step 4: Connect Your Facebook Page with SchedulePress
Afterward, SchedulePress will be successfully connected to your Facebook page. By simply following the previous steps, you can add a new profile and connect multiple Facebook pages with SchedulePress as well.

Step 5: Schedule Blog Post & Automatically Share It on Facebook
If you schedule your WordPress post, it will automatically be shared on your Facebook account. Besides, if you want, you can even instantly share your live post on Facebook as well. To do that, go to your post and navigate to ‘Social Share Settings’ and choose the ‘Facebook’ social share platform either from the default templates or the custom templates.
Simply hit the ‘Share Now’ button, and your post will instantly be shared on your Facebook page or group. If you want, you can even upload a custom ‘Social Share Banner’ for your Facebook post as well.

You Have Successfully Auto-Published Blogs on Facebook from WordPress
If you have followed all the steps mentioned above, then Congratulations! As soon as your WordPress posts go live, they will be automatically shared on your Facebook account.

Besides, if you are looking for a video tutorial, then here it is. Find out how you can auto-schedule your blogs on Facebook from WordPress.
Tips to Keep in Mind While Auto-Scheduling Blogs on Facebook from WordPress
This section is for you if you are planning to smoothly manage auto-scheduling blogs on Facebook. Check out these 3 trending tips that will help you to increase the engagement and viewers of your blog.
⭐ Do Not Over-Schedule Your Blogs on Facebook
Some people think that they can schedule all their posts in advance for weeks at a time, and then neglect social media for days. However, this is not true. The customer interest on your page starts to dwindle if you regularly post multiple times a day, as it becomes more of a sales vehicle than a social platform. Although it is worth announcing new products or big changes to your business, avoid overscheduling.
⭐ Keep an Eye on Competitors’ Social Share Practices
Have you thought about scheduling posts ahead of time, but are worried about inauthentic or robotic content? Then the best thing to do is follow your competitors. Check out how often and what they post and use this information to improve your own social media campaigns. Analyzing your competitors’ social profiles main motive is not to copy them, rather to take cues and inspirations to make your blog sharing optimized and get the best output.
⭐ Enhance Your Social Shares with Emojis & Hashtags
To make your social share attractive and make it more relevant to the reader, emojis are a great help. So you should start practicing using interactive emojis on your social media to grab the utmost attention. Also, to reach the target audiences of your blog among millions of social media posts, hashtags are the key. So practice including relevant hashtags in your blogs.
✨ Bonus: Easy solution to Auto-Schedule Blogs on Facebook from Elementor
There is good news for WordPress users who use Elementor page builder to design pages, posts and blogs. With SchedulePress, you can directly schedule all your posts and pages from the Elementor editor panel, without leaving the interface. You can also make posts unpublish or reschedule them if needed.
Increase Your Blog Engagement with Facebook
Sharing your content on Facebook gives you the chance to reach millions of people. Easy schedule management plugins let you share your blog posts directly to social networks without having to spend time manually doing so. So, install SchedulePress and start automatically sharing blogs on Facebook from WordPress.
If you want to get more of these kinds of detailed tutorials, guidelines, blogs, etc., then subscribe to our blog. Also, we want to hear about your experience with SchedulePress. So share through comments or by joining our Facebook community.