As a dedicated Elementor user, have you ever wished you could schedule Elementor sections to appear or disappear at the perfect moment on your website? Imagine launching a holiday promo banner at midnight on Black Friday, or hiding a limited-time offer section the second a sale ends – all without setting an alarm or doing it manually. It sounds like content management magic. And it kind of is. In this guide, we will show you how to make that magic happen easily, so you can deliver the right content at the right time and boost your seasonal campaign success.
💡 Why Schedule Elementor Sections? Benefits & Use Cases
Timing is everything in content delivery. When your site displays the right information at the right moment, visitors are more likely to engage and convert. Choosing to schedule Elementor sections leads to timely, audience-targeted content delivery for Elementor websites.
Before diving into the how-to, let us explore why you would want to schedule Elementor sections and find it a game-changer for marketers, website owners, bloggers or anyone.
Enhanced User Experience
Showing timely, relevant content keeps visitors happy and informed. No one likes seeing a Christmas sale banner in February or an expired offer hanging around. By scheduling sections, you ensure each promo or message only appears when it is relevant, then vanishes when it is outdated.
Seasonal Promotions & Campaigns
If you run seasonal marketing campaigns, scheduling is your secret weapon. You can prepare holiday sale banners, New Year countdown timers, or special event CTAs in advance, and set them to go live exactly when the campaign starts. You do not need to stay there at odd hours. Schedule content updates in advance to reach your audience at the optimal time.
Content Freshness & Relevance
A scheduled section is an easy way to keep your pages up-to-date. You can set a new announcement to publish and replace the old one automatically at a given time. In short, WordPress content scheduling ensures your site is always relevant, which builds credibility with your audience.
Efficient Workflow & Planning
For busy teams (or solo hustlers), being able to schedule Elementor sections ahead of time is a lifesaver. It lets you map out content in advance and align it with your marketing calendar. No need for last-minute edits before a campaign launch. Designers create the section, writers craft the copy and you schedule it to go live when needed. This kind of planning not only reduces stress but also improves quality.
💡 Why You Need an Elementor Scheduling Plugin (Beyond Default Features)
So, can you schedule a section in Elementor out of the box? Here is the catch: Elementor Pro does offer features like display conditions to show or hide elements under certain conditions (including date and time ranges). For example, you could set a section to only show during a particular date range using Elementor’s display conditions.

[Image Source: Elementor]
However, there is no native interface to pick a specific future date/time for a section to publish or expire automatically. So, you would still have to set those conditions manually and remember to update them.
This is where a dedicated Elementor scheduling plugin comes in handy. A scheduler plugin gives you in-depth control to choose exact dates and times for sections to go live or go off. It will utilize a simple settings panel right inside Elementor. Essentially, it can add an automation layer on top of Elementor’s design options, so you do not need to stay with ready content just to get them published.
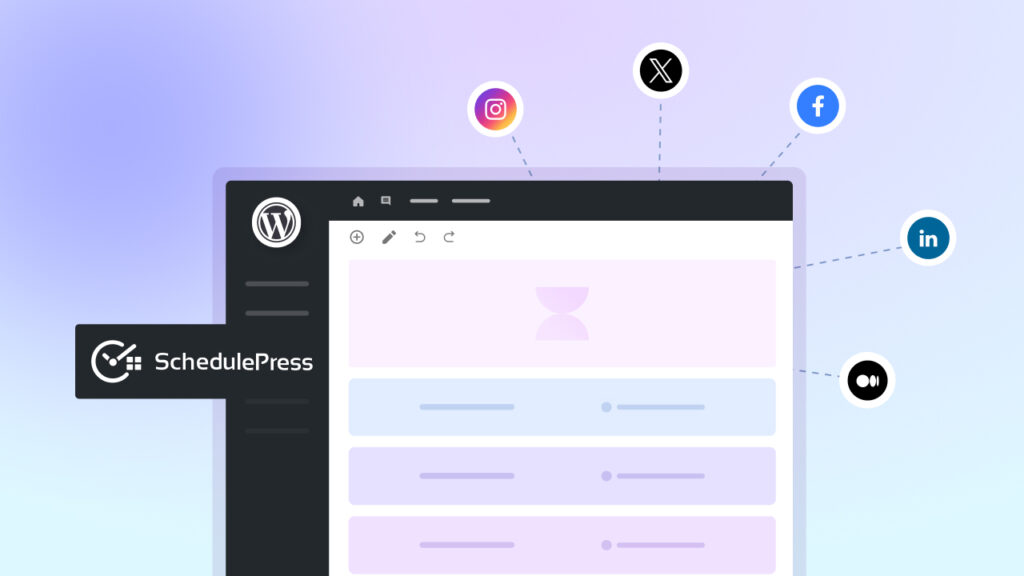
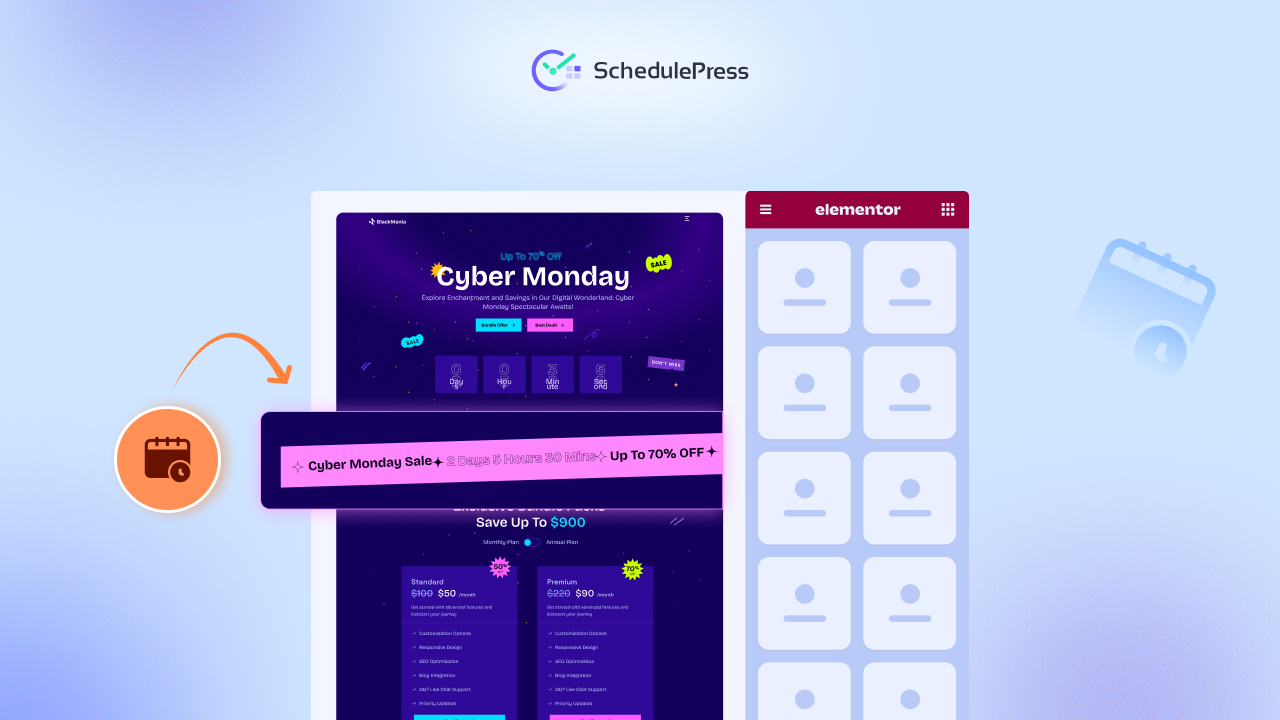
One such solution is SchedulePress. It is a complete content scheduling plugin for WordPress. Widely known for scheduling blog posts and even auto-sharing them on social media, this Elementor scheduling plugin brings essential powers directly into the editor and extends the functionality. No coding required, no cron jobs to deal with.
For this article, we are focusing on the Advanced Schedule feature that integrates with Elementor and lets you time-travel your page content, so to speak. So, how to schedule a section in Elementor? Let’s dive in to learn.
⏱️ How to Schedule Elementor Sections with SchedulePress: A Guide
Alright, let us get into the exciting part! How to schedule Elementor sections using the SchedulePress plugin? You can set all that up in a few clicks. No more waking up at dawn to toggle things on your site; you can schedule content updates while you sleep.
Before starting, make sure you have the SchedulePress PRO plugin installed and activated on your WordPress site. Also, double-check your site’s timezone in ‘Settings → General’, so your scheduled times match your local time or your target audience’s timezone.
Step 1: Enable Advanced Schedule
In your WordPress dashboard, go to SchedulePress → Settings. Under the Scheduling or Advanced Schedule tab, toggle on the option that enables advanced scheduling in Elementor.

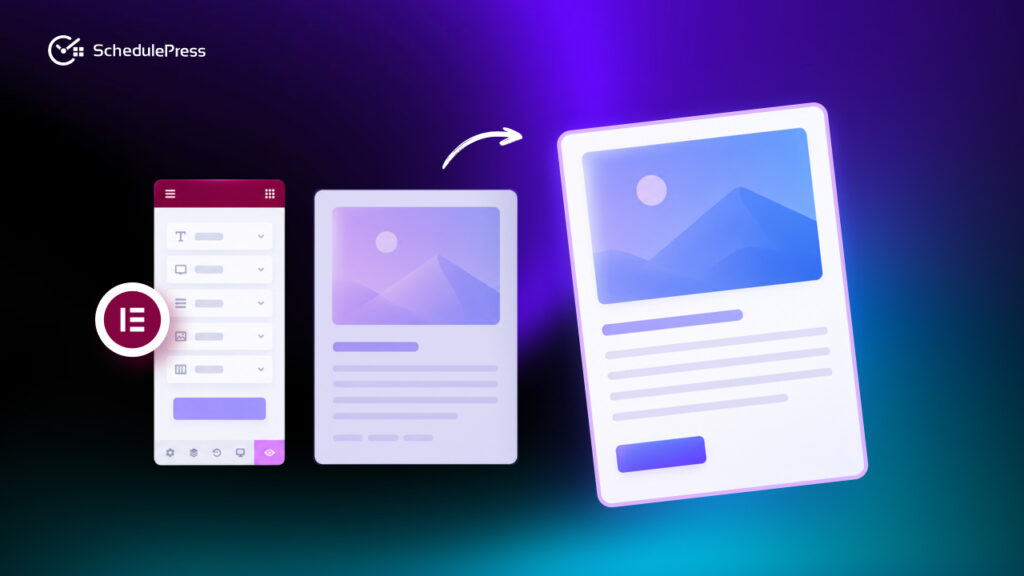
Step 2: Open Your Page in Elementor
Navigate to the page (or post) where the section lives – or where you plan to add the new section. Click “Edit with Elementor” to launch the Elementor page builder. If you have not created the section yet, go ahead and design it as you normally would. You can also pick any of 3000+ ready Elementor templates from Templately.
Step 3: Select the Section to Schedule
In the Elementor editor, click on the section’s handle (the blue six-dot icon at the top center of the section) to select the entire section. You should see the section’s settings in the left sidebar once it is selected.

Step 4: Find the SchedulePress Options
With your section selected, look in the left sidebar panel. Depending on your SchedulePress version, you might find a new “SchedulePress” or “Advanced Schedule” section in the settings. It could be under the Layout tab or the Advanced tab of the section’s settings.

Step 5: Enable Section Scheduling
In the SchedulePress panel for the section, toggle the setting (usually a switch or checkbox) to Activate or Enable scheduling for this section. Once you turn it on, additional date/time fields will appear – typically labeled “Publish On”, “Unpublish On”, and “Republish On”.

Step 6: Set Your Publish/Unpublish Times
Now fill in the schedule for your section. For our example:
Publish On: Select the date and exact time when the section should appear on the page. (For example: Monday, Dec 4, 2025 @ 09:00 AM for your Winter Sale kickoff.)
Unpublish On: (Optional) Select the date/time when the section should disappear. (such as, Monday, Dec 11, 2025 @ 09:00 AM to hide the sale banner after one week.) At that moment, the section will be automatically removed from the page.

Republish On: (Optional) If you plan to reuse this section later, you can set a republish date/time. This will make the section appear again on that future date. For example, if you have a banner that you want to show every weekend, you could schedule it to unpublish on Sunday night and republish next Friday evening.
Step 7: Save your changes
Once you have configured the times, simply hit the normal Update button (or Publish if it is a new page) in Elementor to save the page. And that is it! SchedulePress will take it from here –when the clock hits your “Publish On” time, the section will automatically go live. You can go have a coffee and watch it all happen, no manual switches needed.

Now your Elementor sections can work like scheduled posts – truly set and forget. This is incredibly handy for seasonal marketing campaigns where timing is critical.
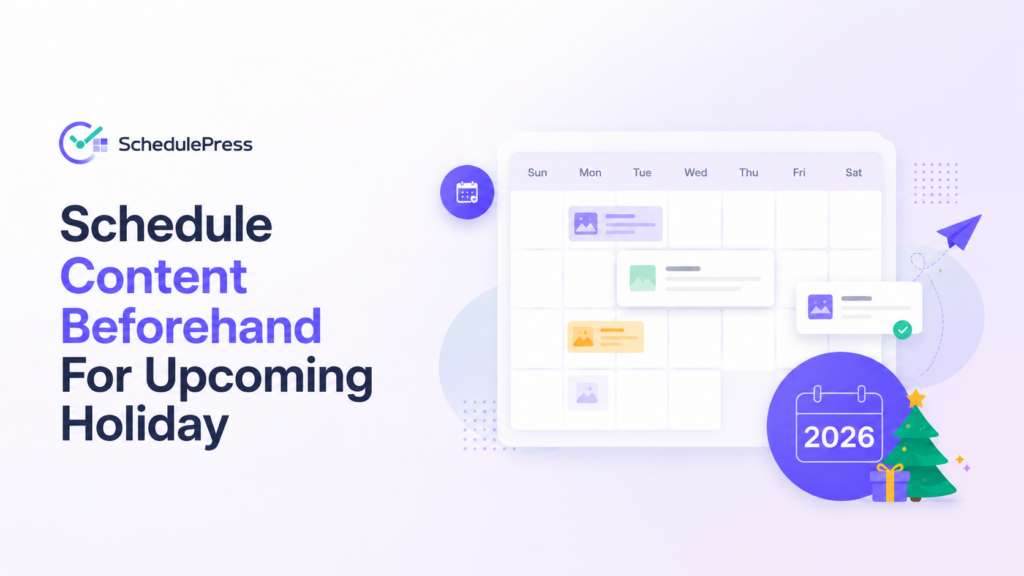
💡 Seasonal Campaign Ideas to Try with Scheduled Sections
By now, you may be wondering in which use cases you might want to use this advanced schedule feature. To get you inspired, let us look at some seasonal campaign ideas where scheduling Elementor sections can make a huge impact.
Holiday Sale Banners
Design a festive banner section for each big holiday (Black Friday, Christmas, Valentine’s Day, etc.) and schedule them. For example, create your Black Friday promo section in October, set it to publish on Thanksgiving night, and auto-hide on Cyber Monday. Visitors will only see the sale info when it is relevant, which can drive urgency and avoid any confusion.
Countdown Timers for Limited Deals
Running a time-sensitive deal or an event? Use a countdown widget in a section and schedule that section to appear days before the event and disappear when the clock hits zero. For example, a New Year’s Eve countdown or a “Sale ends in…” timer. This adds a bit of FOMO and excitement.
Seasonal Hero Sections or Backgrounds
You could design alternate hero sections (like a winter-themed hero image and message) and schedule them for the appropriate time of year. On the first day of the season or a holiday, your site will automatically “dress up” for the occasion. This aligns your brand with seasonal sentiments and shows users that you’re fresh and up-to-date.
Event Announcements & Sign-ups
If you host webinars, sales events, or in-person events, you can schedule a promo section ahead of time. This way, you are effectively scheduling content updates around your event timeline, keeping everything relevant.
Rotating Promotions or Weekly Specials
Some businesses have recurring promotions (like “Friday Flash Sale” or weekly menu specials). Instead of manually enabling those sections each time, you can schedule them to recur. For example, create a “Friday Flash Sale” section and set it to publish every Friday at 8 AM and unpublish on Friday at midnight.
Post-Campaign Follow-ups
Here is a clever one – schedule a post-campaign section. Say you ran a big seasonal sale and after it ends, you want to show a “Thank you for shopping with us – stay tuned for the next event” message, or perhaps promote a related product now that the sale is over. You can schedule that thank-you section to publish right after the sale section unpublishes.
It is like passing the baton: one section comes down, another goes up. This keeps your audience engaged even immediately after a campaign, instead of landing on a blank space or generic content.
🚀 Automate Your Seasonal Content Strategy for Maximum Impact
The ability to schedule Elementor sections is not just a neat trick – it is a genuinely practical solution to many content management headaches. You get to automate timers, banners, CTAs, and more so that your site always shows timely content without you constantly checking it.
So go ahead – start planning your next seasonal campaign with scheduling in mind. Prepare those sections ahead of time, set your dates, and then sit back as your site runs like clockwork. You will wonder how you ever managed content without it! If you want more tips and tutorials like this, be sure to subscribe to our blog and join our friendly Facebook Community to stay updated with the latest WordPress trends and social media marketing insights.