Have you ever wished you could schedule a section in Elementor to appear or disappear at exactly the right time on your website? Think about it – you want to launch a holiday promotion banner at midnight on Black Friday or hide a limited-time offer section the moment a sale ends – all without manual intervention. It sounds like magic for content management, and it is.

Let us find out how to schedule a section in Elementor step-by-step and understand how this feature can save time while boosting user engagement.
🌟 Why Schedule a Specific Section in Elementor? Benefits & Use-Cases
Why go through the process to schedule a section in Elementor? Here are some key benefits, especially relevant for marketers, website managers, and bloggers:
Boosted User Experience
Timing is everything in content delivery. By displaying content at the right moment, you ensure visitors see information that is relevant when they need it. This avoids confusion from outdated promos lingering on the page. On top of that, a well-timed section can make sure that your campaign goes LIVE at the right time. For instance, think about showing a Black Friday campaign banner in Christmas. Your website visitors will not be happy about seeing an outdated campaign on your website. But with scheduling, you can post the right campaign at the right time without manually updating it.
Seasonal Promotions & Campaigns
If you run seasonal marketing campaigns or limited-time offers, scheduling is your best friend. You can prepare a holiday sale banner or an event countdown section in advance and set it to go live precisely when the campaign starts. No more waking up at midnight to push a promo live! Similarly, you can schedule that section to unpublish itself automatically when the promotion or event is over.
Content Freshness and Relevance
Scheduling sections is a great way to keep your pages fresh in real-time. For example, you might have an “Announcement” section on your homepage that you update regularly. With scheduling, you can set a new announcement to replace an old one at a predetermined time. This way, outdated info disappears exactly when it should, and new content automatically takes its place.
Efficient Workflow and Planning
For busy marketers and web managers, the ability to schedule a section in Elementor in advance is a huge workflow recharger. It allows you to coordinate content with your marketing calendar without the need for last-minute scrambles. In a team setting, it also helps with collaboration – content writers or designers can prepare sections ahead of time, and you publish them on schedule.
In summary, the ability to schedule a section in Elementor leads to timely, relevant content delivery, which improves user engagement and eases the content management load on you and your team.
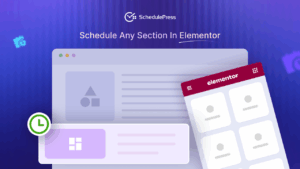
💡 Why You Need a Scheduler Plugin for Elementor? [With Solution]

[Image Source: Elementor]
By default, Elementor (the popular WordPress website builder) offers powerful design features. On the other hand, Elementor PRO has display conditions (show an element only on certain dates or times). But setting an exact date/time for a specific section to go live or expire is not a native feature of Elementor.
To get fine-grained control over content visibility, you need a scheduler plugin for Elementor. Without a scheduling solution, you might stick to manually editing pages later. Let us save you from the trouble with a simple yet powerful solution – SchedulePress!
⏱️ Introducing SchedulePress: Your Solution for Scheduling Sections

SchedulePress (formerly known as WP Scheduled Posts) is a powerful WordPress plugin developed by WPDeveloper, designed to be an all-in-one content scheduling toolkit. It is best known for helping schedule blog posts and social media shares, but it extends scheduling capabilities right into the Elementor editor.
You can easily schedule a section in Elementor, controlling exactly when that content appears or disappears. This integration means you can plan section visibility with precision – no coding required, and no need to manually toggle things on your site at odd hours.
SchedulePress is not just a single-purpose tool – it is a complete scheduling solution. Some notable features include:
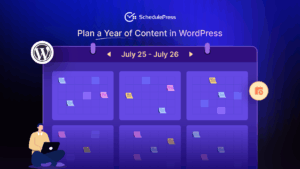
- Editorial Calendar & Auto Scheduler: Plan all your content with a calendar view and even automate posting intervals.
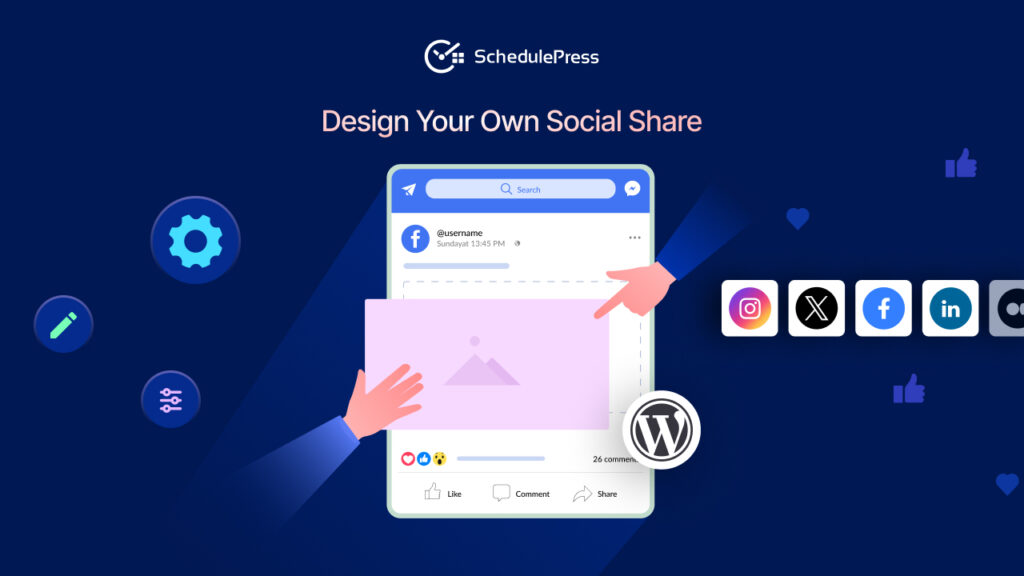
- Social Media Auto-Sharing: Automatically share your scheduled posts to social networks when they go live.
- Advanced Schedule: This feature allows you to schedule, unpublish, or republish content directly from the WordPress editor panel. You can update text, images, banners, or entire sections at a set time without manual intervention.
- Missed Scheduler: Prevent missed scheduled errors in WordPress with its Missed Schedule Handler feature.
⏲️ How to Schedule a Section in Elementor Using SchedulePress
Scheduling an Elementor section with SchedulePress is straightforward. Before you begin, make sure you have SchedulePress PRO installed and activated on your WordPress site (the scheduling functionality is a premium feature). Also, of course, have Elementor installed since we will be using the Elementor editor.
Now, follow these steps to schedule a section in Elementor:
Step 1: Enable Advanced Schedule
Navigate to ‘SchedulePress → Settings’ from your WordPress dashboard and under the Scheduling Hub tab, go to the Advanced Schedule feature and make sure it is toggled “On”. This enables the scheduling option in Elementor. Also, verify your site’s timezone is correctly set in ‘Settings → General’, so scheduled times will align with your local time.

Step 2: Open the Page in Elementor
Now, it is time to configure the process of scheduling an Elementor section. Go to the page (or post) where the section you want to schedule resides. Click ‘Edit with Elementor’ to launch the Elementor page builder interface. If the content is not created yet, you can design the section ahead of time.
Step 3: Select the Section to Schedule
In the Elementor editor, click on the section you wish to schedule. You can select it by clicking the section handle or container (the pink tab and its six dots at the top of the section). This will open the section’s settings in the left panel.

Step 4: Access SchedulePress Settings in the Section.
With the section selected, navigate to the Layout (or Advanced) tab of the section’s settings. Scroll down, and you should see a section labeled SchedulePress or Advanced Schedule. This is where the scheduling options reside.

Step 5: Enable Section Scheduling
In the SchedulePress options for the section, toggle the option for Advanced Schedule to “Yes” or “On.” Once you enable this, additional date and time settings will appear (usually labeled Publish On, Unpublish On, and Republish On). This is where you set the schedule rules for the section.

Step 6: Set Publish/Unpublish Dates and Times
Now, choose the timing for your section:
Publish On: Select the date and time when you want this section to appear on the page. For example, if you are scheduling a Christmas promo section, you might set Publish On for Dec 1, 2025, 00:00 (midnight) to start showing at the beginning of December.

Unpublish On: (Optional) Select the date/time when you want this section to be automatically hidden/removed from the page. Using the same example, you might set Unpublish On for Dec 26, 2025, 00:00, so that right after Christmas, the section disappears.
Republish On: (Optional) If you plan to reuse this section or want it to appear again later, you can set a republish date/time. For instance, perhaps you have a recurring weekly announcement; you could unpublish a section on Friday and set it to republish on Monday without recreating it.
SchedulePress gives you full flexibility here – you can use just one of these options or all three in combination to schedule a section in Elementor. For most simple cases, you will at least set a Publish time, and optionally an Unpublish time.
Step 7: Save (Update) the Page
After configuring the schedule to your preference, click the Update button (if it is an existing page) or Publish (for a new page) in Elementor to save the changes. Your section is now scheduled!
🎉 Streamline Section Scheduling in Elementor
The ability to schedule a section in Elementor with SchedulePress is an invaluable feature. Whether you are trying to show a specific section or want to launch your campaign at the right time, SchedulePress allows you to automate your content strategy more efficiently..
Now that you know how to schedule a section in Elementor, what will you schedule next? Let us know in our Facebook community. You can subscribe to our blogs for valuable tutorials, guides, knowledge, tips, and the latest WordPress updates.